


Windows Phone is one of the major smartphone operating systems available today. This article is focused on guiding anyone who is interested in game development to develop games for Windows Phone 8/8.1 devices.
Choosing a game engine
There are several game engines which support Windows Phone 8/8.1. These are some of the well know ones.
- GameMaker – https://www.yoyogames.com/studio
- Cocos2d-x – http://www.cocos2d-x.org/
- Construct 2 – https://www.scirra.com/construct2
- Corona SDK – http://coronalabs.com/products/corona-sdk/
- Unity – http://unity3d.com/
In this case we are going to use Unity. Unity is game multiplatform game engine which allows us to create both 2D and 3D games. It has a free version which can be downloaded from here. The Pro version of Unity comes with more advanced features, but the free version is good enough if you’re working on a simple 2D game.
Setting up the development environment
- Download and install Unity.
- Download and install Visual Studio 2013 Express.
This includes the Windows Phone SDK which allows you to build your project.
- In order build apps, you need to register your device. See this guide for more information.
Creating the project
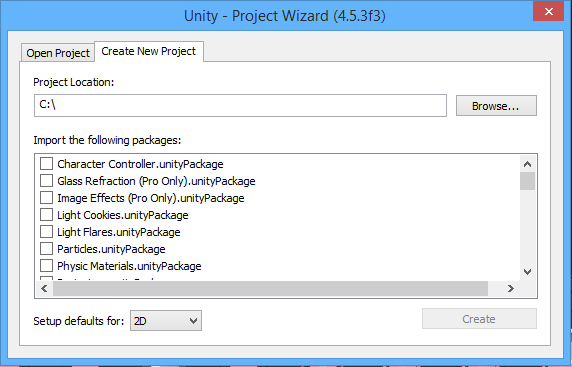
1. Open Unity and create a new project.
File > New Project…
Browse for a folder to save the project and set the project defaults to 2D.
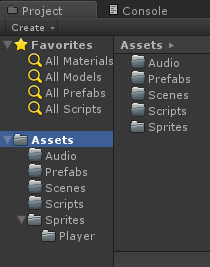
2. Create these folders to store different types of assets.
3. When you create a new project in Unity, by default the target platform is set to PC. We have to change the target platform to Windows Phone.
Go to File > Build Settings and choose Windows Phone from the list. Then click “Switch Platform”. Now the project has been converted to a Windows Phone project.
4. We are going to use some free graphics assets in our game. You can download them from here.
Visit kenney.nl for more awesome graphics.
Extract the folder and drag and drop the graphics into the Player folder you created in your project

Now we are going to create a simple animation. Select all the character sprites and drag and drop them into the scene. You will be prompted to save the animation. Save it with the name “Walk”.
Now select the character and change its position.
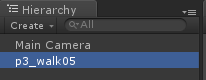

Select the Main Camera and set its size to 1.5. They hit play and you will see the animated character on the screen.
5. Save the scene and go to “Build Settings”. Press “Add Current” button to add the scene to the build. Connect your device to the PC and unlock the screen. Then hit “Build and Run”. Select a folder to save the Visual Studio project. Then the game will be deployed to your Windows Phone device.
I hope now you have a basic understanding about deploying your Unity projects on Windows Phone. Stay tuned for more tutorials.