නියමාකාර ව්යාපෘති කළමනාකරණ මෘදුකාංගයකින් තොරව යම් ව්යාපෘතියකට අතගැසීම පසුව ඉතාමත් අනුවණ ක්රියාවක් වන අතර පසුකාලීනව මුළු ව්යාපෘතිය ම හිසරදයක් වීමට ද මෙය හේතු විය හැක. අධික පිරිසක් සමග ක්රියාත්මක වන විවිධ ව්යාපෘතීන් හීලෑ කරගැනීම ඉතාම අසීරු සහ මිල අධික බව ඔබ සිතිය හැක.
බියවිය යුතු නැත.
කුඩා ව්යාපාර සඳහා දැන් ඉතා සාර්ථකව සිය ව්යාපෘතීන් සංවිධානය කරගැනීමේ හැකියාව ඇත. වැදගත්ම කරුණ නම් මේවා බහුතරයක් නොමිල් ලබාදෙන සේවා වීමයි. ඒවා අතරින් ප්රධාන කීපයක් පහත ලැයිස්තුගත කර ඇති අතර, අදාළ සබැඳි භාවිත කර ඔබට වඩාත්ම ගැලපෙන සේවාව තෝරාගත් හැක.

ඔවුන්ගේ 40,000ක් වූ පාරිභෝගිකයින්ට සහ 400,000ක් වූ පරිශීලකයින්ට අනුව, Asana යනු දැනට ඇති ජනප්රියම ව්යාපෘති කළමනාකරණ අයදුමකි. මෙය පරිශීලකයින් 15 දෙනෙකු දක්වා නොමිලේ සහය දක්වයි.
Asana නිමවී ඇත්තේ ද ෆේස්බුක් ජාලයේ අනු-ප්රාරම්භක Dustin Moskovitz අතිනි. Asana යනු සරල කෘත්ය-කළමනාකරණ පද්ධතියක් වන අතර මෙය වඩාත් ප්රයෝජනවත් වන්නේ සජීවීව ගනුදෙනු කරන කණ්ඩායම් සඳහා යි.
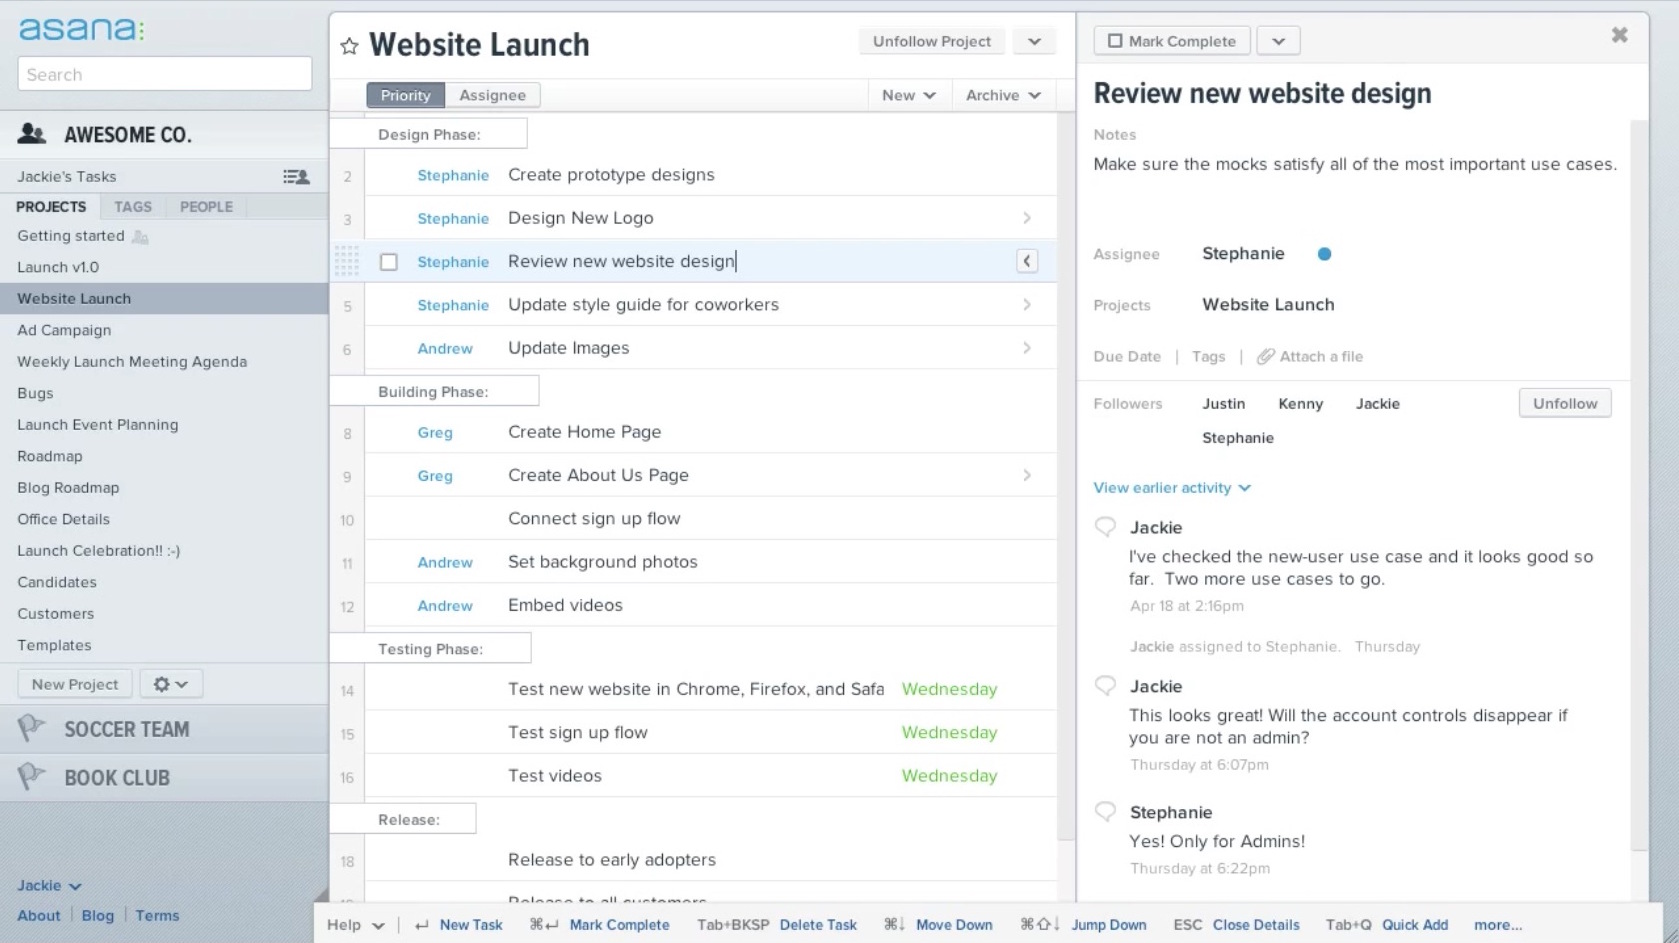
Asana විසින් තම පරිශීලකයින්ට සිය ඉලක්ක දෘශ්යමයව පෙන්වීමට අවස්ථාව ලබාදෙන අතර, කාලය කළමනාකරණයට, විවිධ කාර්යයන්ට ප්රමුඛත්වය දීමට සහ ව්යාපෘති යාවත්කාලීන වීම් වැඩසටහන තුලින්ම දැකගැනීමට ද අවස්ථාව ලබා දේ. මෙහි ඇති දින දසුන් විශේෂාංගය මගින් කණ්ඩායමේ ක්රියාකලාපය පාලක පුවරුවේ සටහන් කර තැබිය හැක.
කෙසේ වුවද Asana භාවිත කිරීමට ඔබට අන්තර්ජාල සබඳතාවක් තිබිය යුතුමය.

මෙය පරිශීලකයින් සහ ව්යාපෘති ඕනෑම ප්රමාණයකට සහය දක්වන අතර, iPhone සහ iPad සඳහා මූලික අයදුම් ද ලබා දේ. නොමිලේ භාවිත කරන්නන් හට (Dropbox, GitHub, ZenDesk, Google Drive වැනි) සේවාවන් දෙකක් සම්බන්ධ කිරීමේ අවස්ථාව ලැබේ.

MeisterTask සතුව කාල කළමනාකරණය, ගැටලු කළමනාකරණය ඇතුළු සියළුම පාහේ වැදගත් විශේෂාංග පවතී. මෙහි දත්ත ගබඩා කිරීමේ සීමාවක් නොමැති අතර, මෙහි එන පාලක පුවරු අතිශය ලෙස රිසිකරණය කළහැක. සැකැස්ම ද ඉතාමත් චිත්තාකර්ෂණීය වන අතර සන්නිවේදන ක්රමවේදය Trelloහි මෙන් වුවද ඊට වඩා මදක් වේගවත් ය.
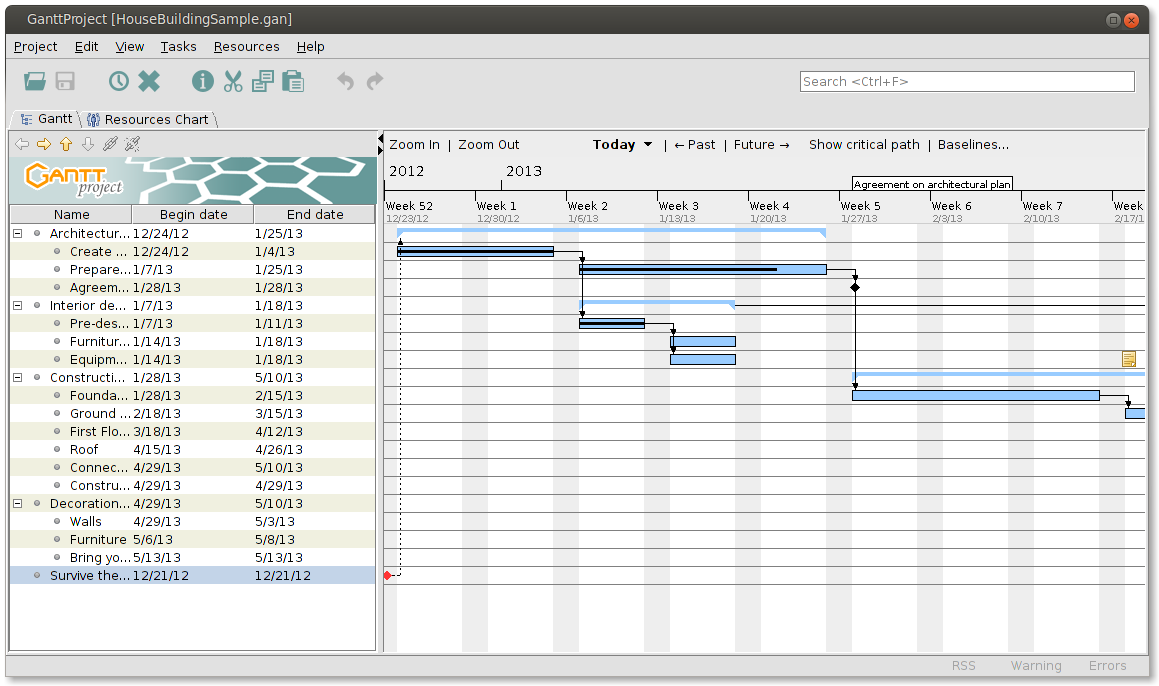
මෙය ද තවත් නොමිලේ ලබාදෙන විවෘත-ප්රභව සැලසුම්කරණ සහ කළමනාකරණ මෙවලමකි. මෙම පද්ධතියට Gantt සහ PERT වගු සෑදිය හැකි අතර, HTML හ PDF ගොනු ලෙස වාර්තා සකස් කිරීමට ද හැකිය.
GanttProject සමගින් ඔබට විවිධාකාර කාර්යයන් සිදුකරගත හැක. මෙමගින් පරිශීලකයින්ට ඉතා පහසුවෙන් ව්යුහගත කාලසටහන් නිර්මාණය කළහැකි අතර විවිධ කාර්යයන් බෙදාදීමට හා වැදගත් සිද්ධි සටහන් කිරීමටද අවස්ථාව ඇත.
Producteev විසින් ඔබට ඕනෑතරම් පරිශීලකයින් සහ ව්යාපෘති හැසිරවීමේ හැකියාව ලබා දෙයි. ඔබට Outlook සමග සම්බන්ධවීමේ හෝ, පුද්ගලික සහය හෝ අතුරුමුහුණත රිසිකරණය කිරීමේ වුවමනාවක් නොමැති නම් වෘත්තිමය උත්ශේණියකට යෑමේ කිසිදු අවශ්යතාවක් නොමැත.
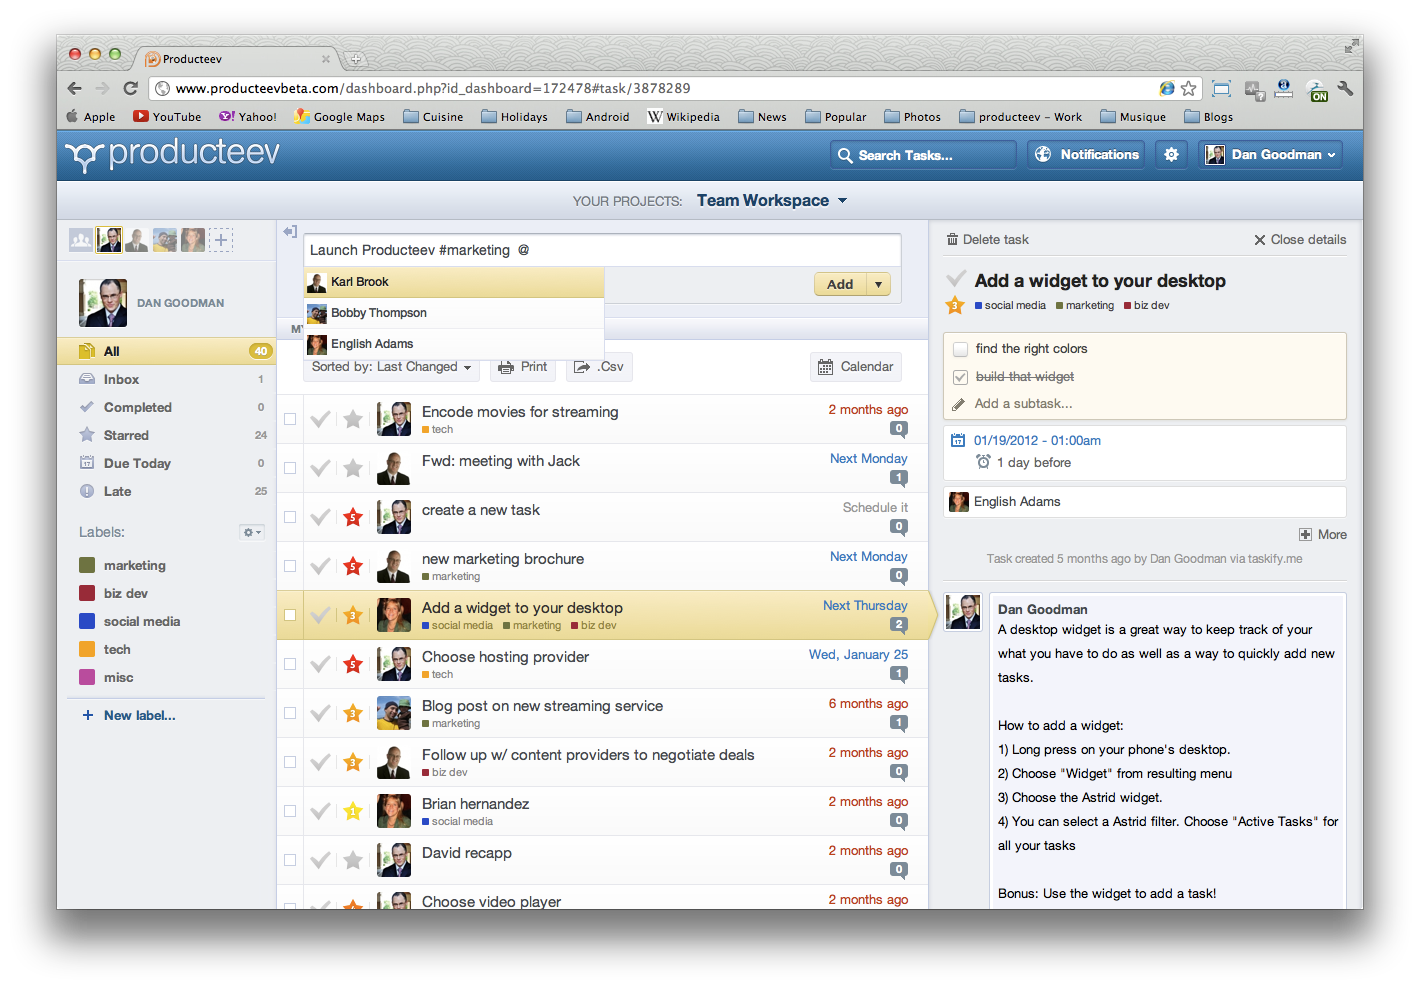
මෙමගින් ලබාදෙන බොහෝ පහසුකම් අතර, කාර්ය ලැයිස්තු කීපයකට අයත් වන කාර්යයන් සෑදීම, පරිශීලකයින් අතර සජීවී සන්නිවේදන හැකියාව, ප්රතිඵල සහ ප්රගතිය මැනීමේ උපක්රම ආදිය ප්රධාන ය.
සීමාරහිත පරිශීලක සහ ව්යාපෘති ප්රමාණයන්, සිත් ඇදගන්නාසුළු නිමාව, ගිණිය නොහැකි තරම් විශේෂාංග, පහසු සන්නිවේදනය, 200MB දක්වා (අවශ්ය නම් රු. 360 වැනි මාසික ගාස්තුවකින් 1GB දක්වා) ගබඩා පහසුකම්, යන සියල්ල නිසා Freedcamp පහසුවෙන්ම මෙම ලැයිස්තුවේ ප්රථම ස්ථනය ලබාගත්තේය.
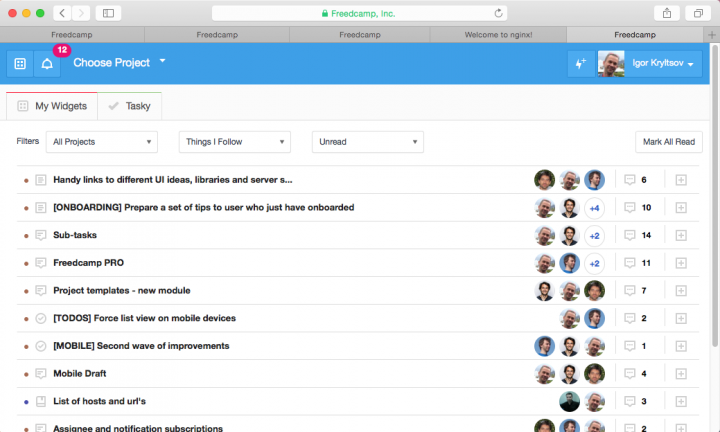
පරිපාලකයින් හට පරිශීලකයින්ගේ භූමිකා පාරිභෝගික තත්ත්වය දක්වා ම සීමා කළ හැක. Freedcamp විසින් කාල කළමනාකරණ, ආකෘති සහ ඉන්වොයිස් කිරීමේ පහසුකම් ද ලබා දේ.
මෙහි සමූහ විශේෂාංග ඉතාමත් සිත් ඇදගන්නාසුළු ය. ෆේස්බුක්හිදී මෙන් මෙහිදී ද යම් යාවත්කාලීන වීමක් සිදුවුවහොත් ඒ ගැන දැනුම්දීමක් පරිශීලකයාට ලැබේ. මෙහි ජංගම අයදුමක් නැති වුවද ඔවුන්ගේ වෙබ්අඩවිය ජංගම උපාංග වෙත සහය දක්වයි.
Zoho Projects, BamBam!, Bitrix24, Trello, 2-Plan යනු තවත් මෙවැනි මෘදුකාංග කීපයකි. එම වෙබ්අඩවි වලට පිවිසීමෙන් ඔබට අදාළ සේවාවන් ගැන අවබෝධයක් ලබාගත හැක.
මේවාට අමතරව ඔබ භාවිත කර ඇති වෙනත් ව්යාපෘති කළමනාකරණ මෙවලම් ඇත්නම්, ඒ පිළිබඳව සටහන් තැබීමට ප්රතිචාර පුවරුව විවෘතයි.


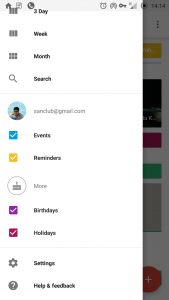
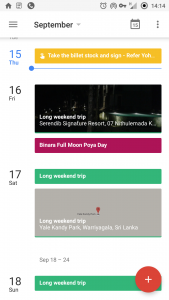 This might sound too novice. Of course you can add events using your Google Calendar App. But there is more to that. You can add the location of your event and add people to the same event. Plus you can invite the same people if you wish to. Also you can control notification alerts according to your requirement. Additionally you can add related attachments from Google Drive too. This is helpful if you have a booking confirmation from a hotel or such like.
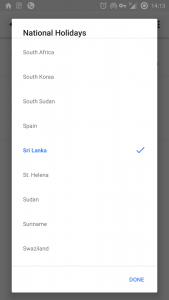


 Facebook කියන්නේ ගොඩක් වෙලාවට privacy පැත්ත ගැන දෙසැරයක් හිතන්න ඕන තැනක්. මොකද FB එකේ අපේ අදහස්, සිතුවිලි, photos, videos share කරන තැනක්. ඒවා බලන්න ඕන නැත්තේ කවුද කියන එක තීරණය කරන්න අපිට අයිතියක් තියෙනව. එකට ගොඩක් ලොකු අවසථාවක් FB එකෙන් අපිට ලබා දීල තියෙනවා.
 අපිට කරදරයක් වෙන පුද්ගලයෝ ඉන්නවා නම් ඒ accounts block කරන්න පුළුවන් අපිට. එතකොට ඒ account එක කිසිම විදියකින් අපිට පේන්නෙ නෑ වගේම ඒ පුද්ගලයාටත් අපිව පේන්නෙ නෑ. ඒක කරන්න settings වල තියෙන Blocking කියන තැනට යන්න පුළුවන්. මේකෙන් තමන්ගේ privacy එකට හානි කරන අයව block කරන්න පුළුවන්. මේකෙදි පුද්ගලයෝ විතරක් නෙමේ, කරදරකාර page invitations, app invitations වගේම event invitations වුනත් block කරන්න පුළුවන්.